Many clinicians are challenged when evaluating patients for perisplenic fluid as part of the FAST or RUSH examination. Here are some common problems and how to fix them.
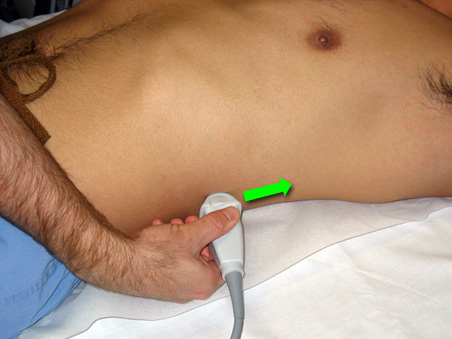
Fix probe location
- Make sure you are holding the probe in a longitudinal view, probe marker towards the patient’s head. Place the probe just above the costal margin, in the posterior axillary line. The knuckles of your probe hand should be touching the stretcher
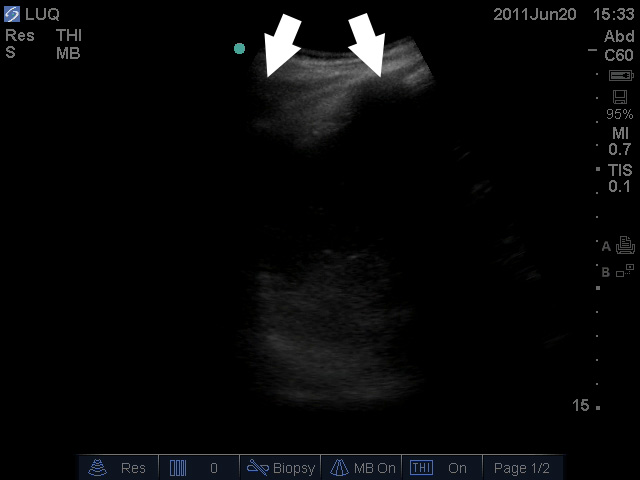
Start too high (too cephalad)
- Starting with the very posterior probe position described above, slide towards the patient’s head until you clearly see pleura and rib shadows. Once you’ve established clear evidence you are over the thorax, slide the probe toward the patient’s feet along the same posterior axillary line until the pleura ends. Now you have found the diaphragm! Scan just caudal to the end of the pleura and you should see the diaphragm and spleen.
- Another way to simplify this- If you see pleura, slide towards the feet. If you see bowel gas (or “nothing”), slide towards the head.
Use a slightly oblique approach
When rib shadows obscure the view, use the “sonographic rib spreader” technique.
Rotate the probe slightly towards the patient’s back so the probe is slightly more parallel to the ribs. Do not go fully transverse.
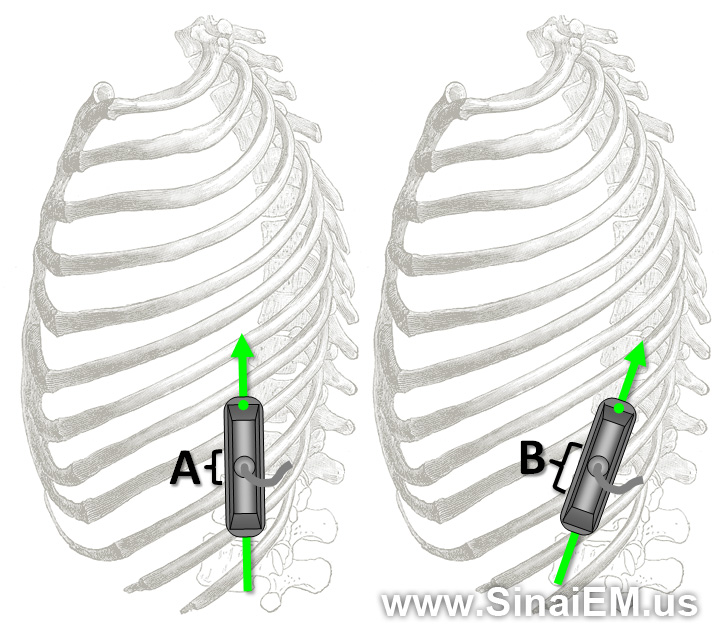
This exposes more of the probe to the interspace, yielding a larger window through which to view the spleen.

For more tips on viewing the spleen, check out this post.
