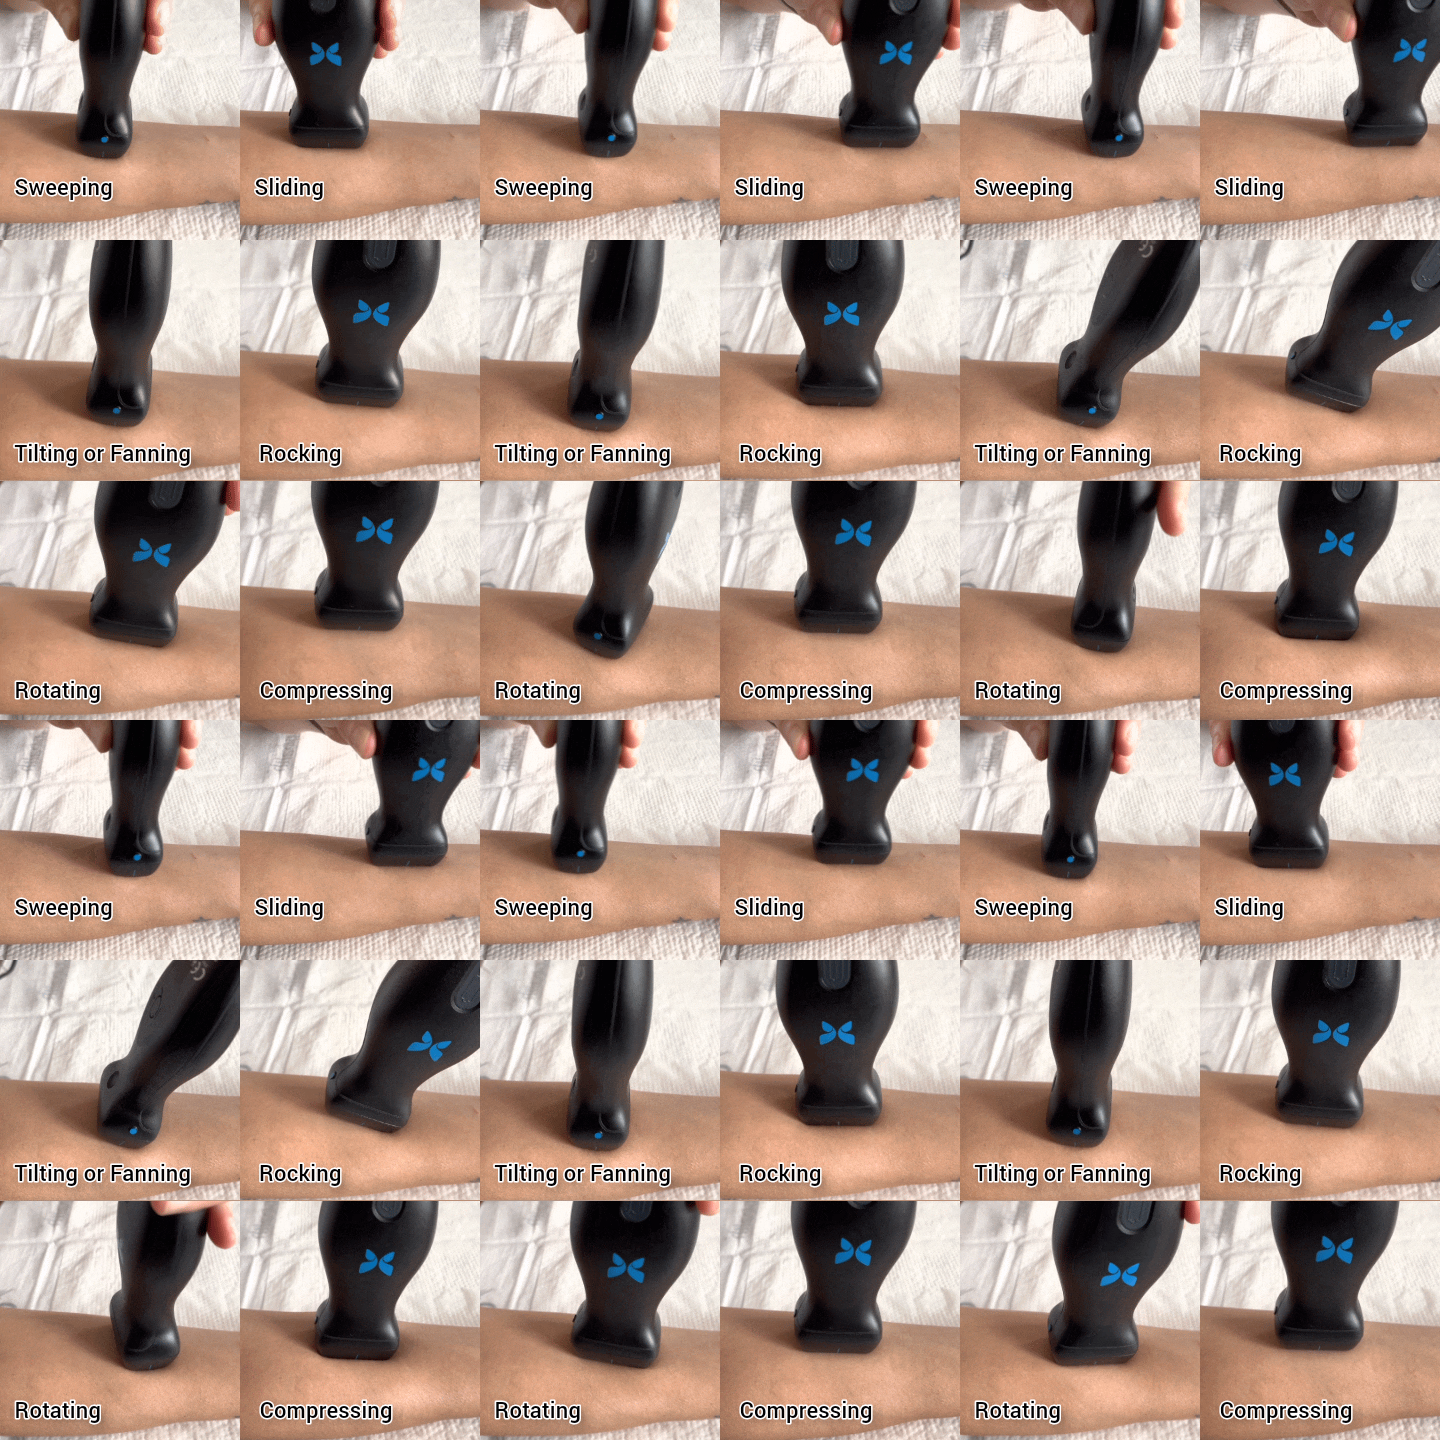
Let’s talk the same language: US probe movements

The good vein
- Size >4mm (increases first attempt success)
- Depth <1 cm (the IV will last longer)
- Proximal veins for rapid transfusion, pressors, IV contrast
- Forearm veins when able, save the proximal access for subsequent attempts
- Anechoic and easily compressible, no overlying erythema or tenderness (find another spot on suspicion for DVT or thrombophlebitis)
- Try to avoid putting your needle through muscle or deep tissue (painful, risk for hematoma)
The quest for the vein
- Put a proximal tourniquet, close to the axilla
- Use the linear probe
- Set the depth (depending on body size, but the minimum depth needed); and gain (blood vessels look anechoic)
- Be liberal with the gel, and slide your probe up and down the arm until you find a “good vein” (see above)
- Wipe down all the gel from the patient and probe (you’ll thank me later)
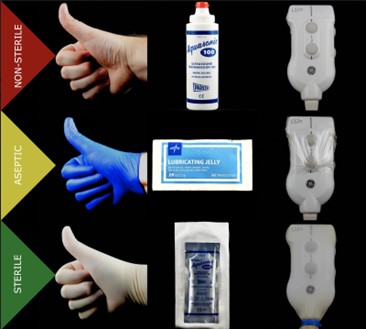
- “Aseptic” technique: probe cover (only to cover the area of contact between the probe and the skin), examination gloves, and individual gel package (ACEP statement here).

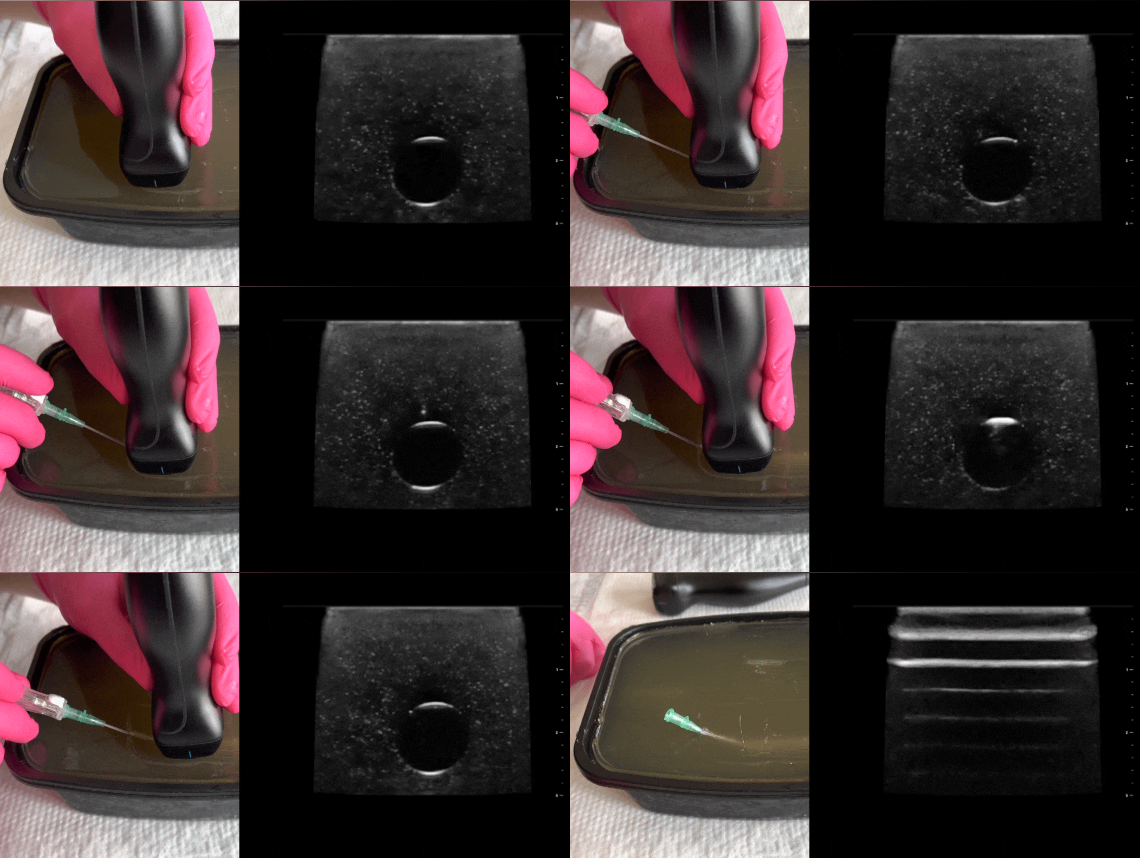
Out-of-plane: “the creep technique”

- Vein in axial view: rounded circle, thin walls, anechoic, easily compressible
- Use as little gel as possible
- Clean the skin with antiseptic of choice
- Place the vein in the center of the screen, you can use M mode to mark the middle
- See the depth (distance from skin to target) and calculate your entry angle
- Insert your needle in the middle of the probe, once you see the needle tip on the screen halt the needle movement.
- Slightly slide the probe proximally, until you don’t see the needle tip anymore
- Advance your needle once again until visualized on the screen. Maintain the vein and the needle on the center.
- Never move both hands at the same time; either the probe or the needle are advancing.
- Repeat this sequence until your needle is free (not touching the vein walls) in the middle of the vessel.
- Thread the catheter and secure the line
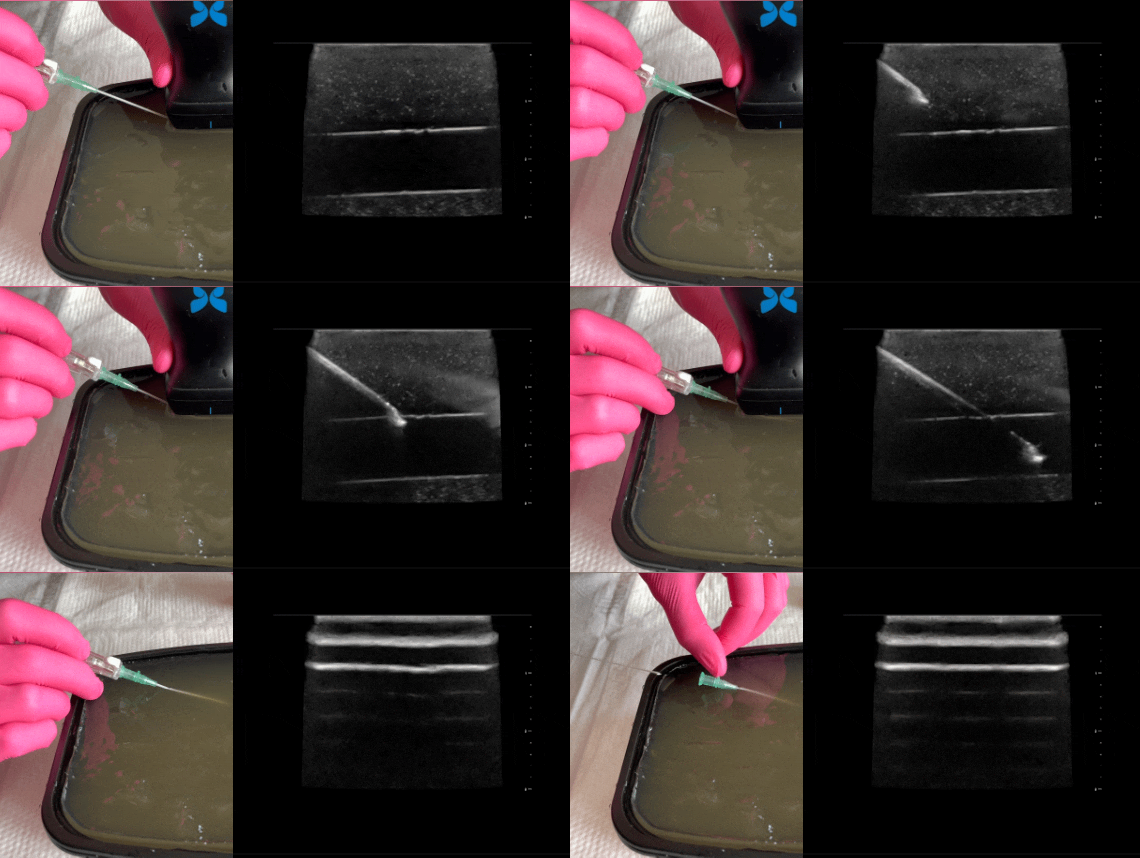
In-plane

- Get a longitudinal view of the vein, tilt side to side to find the greater diameter, and rotate the probe until you find a straight looking pipe
- Little gel. Antiseptic. Go
- Calculate your entry angle depending on the depth of the vein
- Insert you needle from the distal end of the probe, the needle should be parallel and underneath the US beam at all times
- You should be able to see the whole needle shaft and the tip
- Advance until at least half of the needle is inside the vessel before threading the catheter
Wonder how I made the ultrasound model you see in these videos? Check out this step by step guide on how to make your own homemade ultrasound model with gelatin!
Sabrina Rodera Zorita
